Thunderbird is a free email client which you can download and install from: https://www.thunderbird.net/en-GB/
This guide is made using Windows however the set up should be simlar on the Mac version aswell.

If its your first time using this program you will be automaticly skiped to the next step.
If not, click on the burger stack icon in the top right.
Then click Account Settings.

Then in the sidebar in the window that pop up.
Click account actions.
Then click Add mail account….
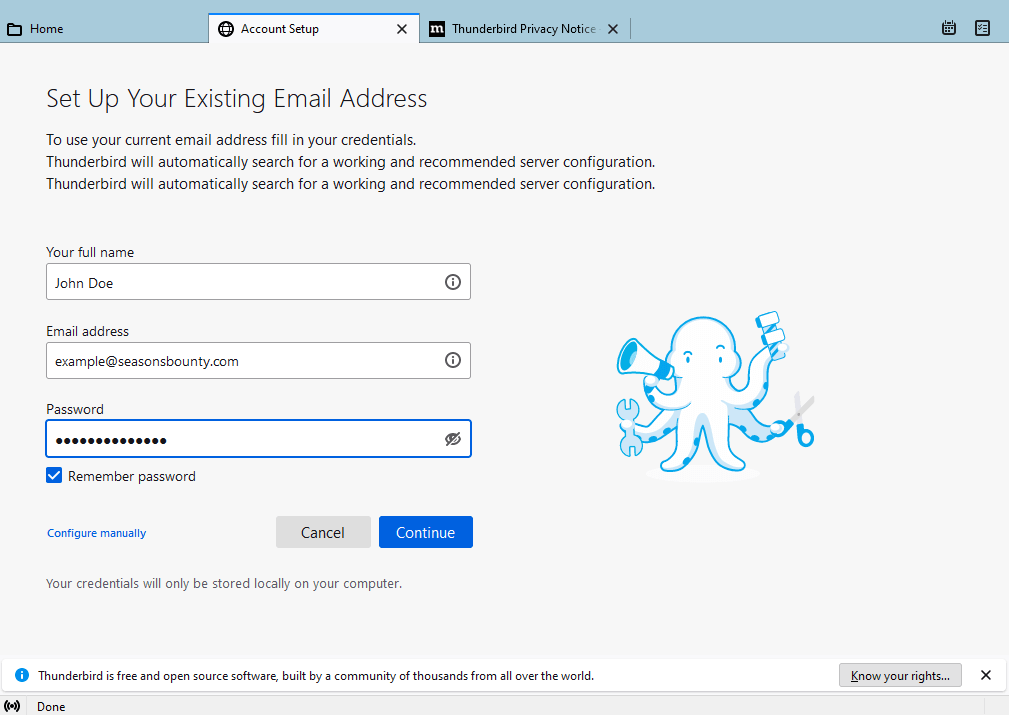
You will be asked to put in your name, email address and password. Then click continue.

Thunderbird will now try and guess the server infomation automaticly for you.
It is often the case it failed or put in the incorrect server info. Make sure the infomation matchs up with the info below.
Incoming Server
| Protocol | IMAP |
| Hostname | mail.livemail.co.uk |
| Port | 993 |
| Connection Security | SSL/TLS |
| Authentication Method | Normal password |
| Username | Email Address |
Outgoing Server
| Hostname | smtp.livemail.co.uk |
| Port | 587 |
| Connection Security | STARTTLS |
| Authentication Method | Normal Password |
| Username | Email Address |

Once done, scroll down and click Re-Test
If you get a “The following settings were found by probing the given server:”

Double check that it matchs up with the above settngs then scroll down and click DONE
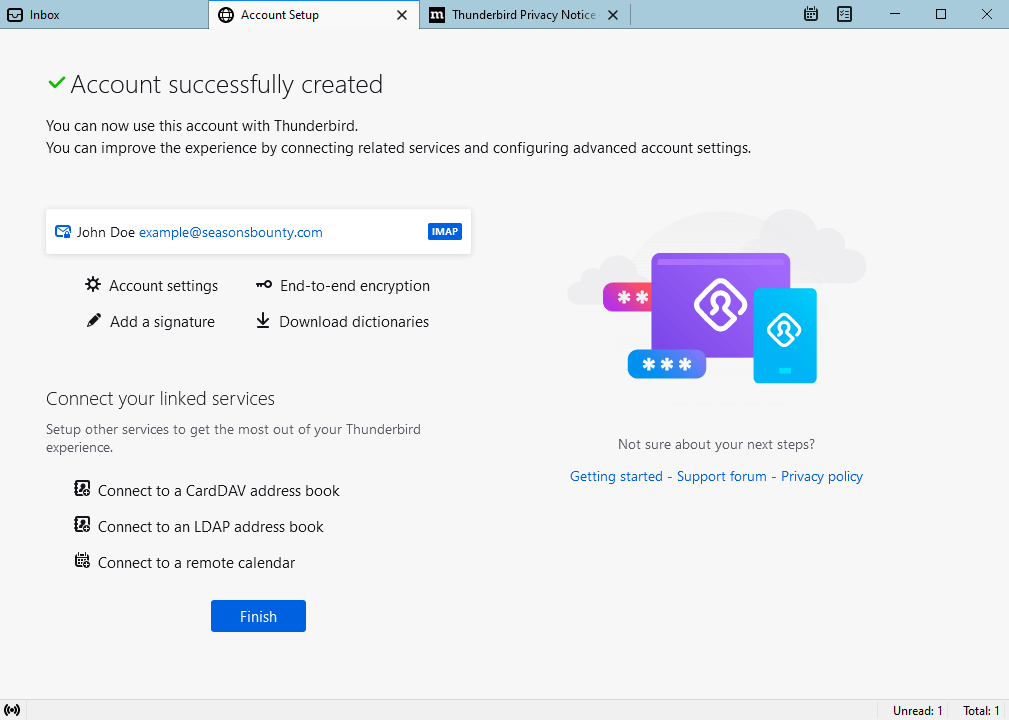
You should now have a account successfully created message.
Click on Finish