Outlook 2013 mainstream support ended on 10 April 2018.
It is still receiving extended support until 11 April 2023.
We recommend to upgrade or use a different email client before the extended support period ends.
More info on the Outlook 2013 lifecyle policy can be found at:
https://docs.microsoft.com/en-us/lifecycle/products/outlook-2013 and https://docs.microsoft.com/en-us/lifecycle/policies/fixed
Open Outlook.
If this is the first time you have opened Outlook you will be directed to the new account wizard.
Click on Next >
On the next window. Select Yes and then click on Next>


If its not your first time loading Outlook 2013.
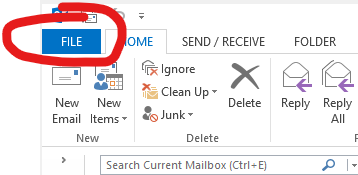
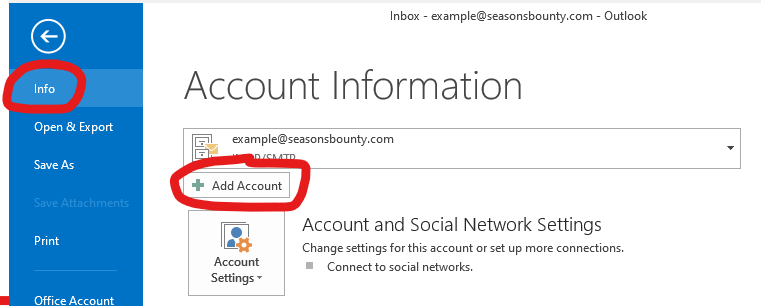
You can click File, Info, then Add Account and continue.
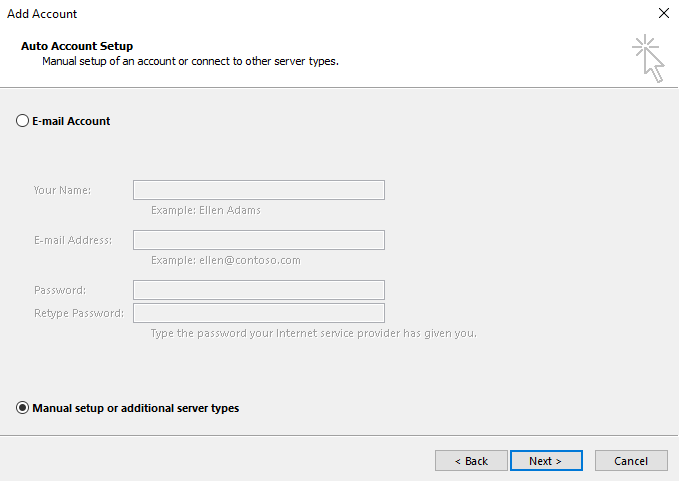
On the Add Account screen select Manual setup or additional server types then click Next.
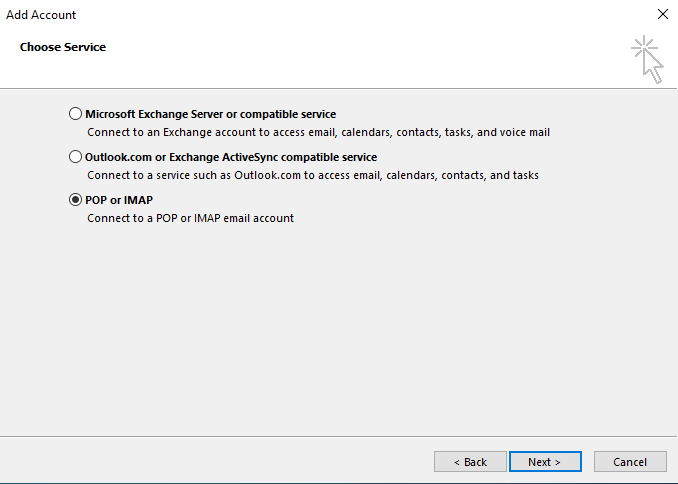
Select POP or IMAP. Then click Next.
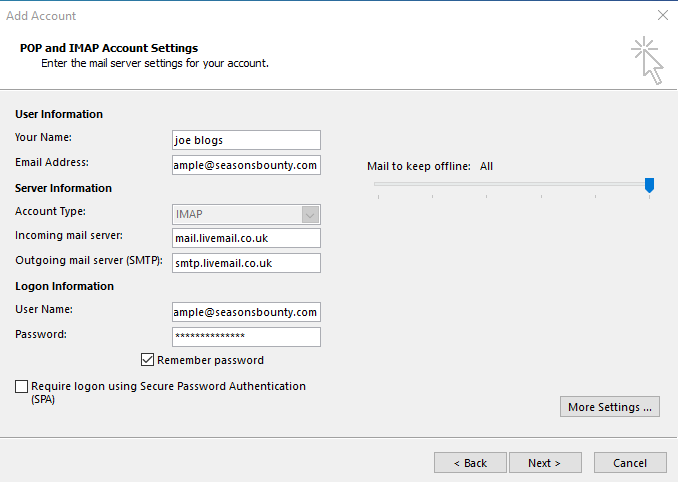
You will now need to enter the email details.
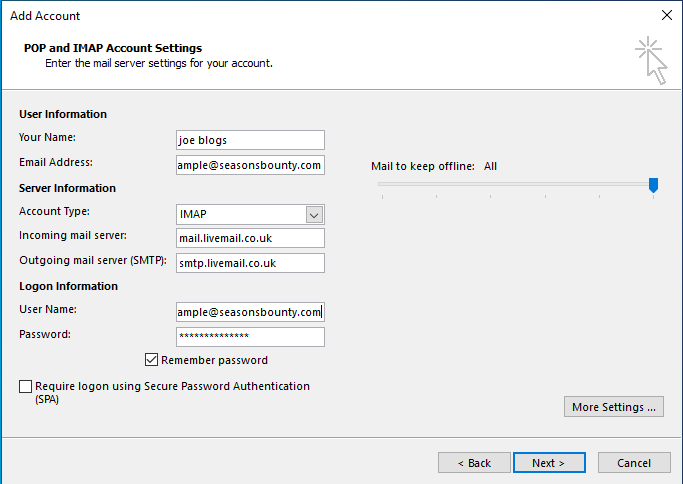
| Your Name | Your name |
| Email Address | The email address |
| Account Type | IMAP |
| Incoming mail server | mail.livemail.co.uk |
| Outgoing mail server (SMTP) | smtp.livemail.co.uk |
| User name | The email address |
| Password | The password |
| Remember Password | Ticked |
| Require logon using secure password authentication (SPA) | Unticked |
Click on More Settings
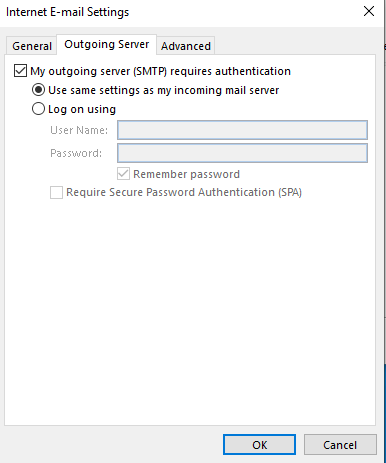
In the Internet E-mail settings box. Click on Outgoing Server tab and tick “My outgoing server (SMTP) requires authentication” and select “Use same setting as my incoming mail server“.
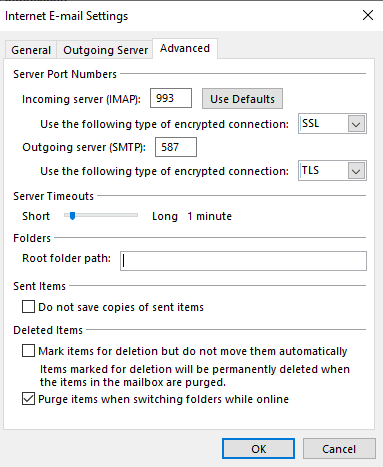
Click on the Advance tab
For Incoming server (IMAP) put in 993
Use the following type of encrypted connection: SSL
For Outgoing server (SMTP) put in 587
Use the following type of encrypted connection: TLS
Then click OK
Click on Next >.
It will now test the connection. If the tasks say completed click close.
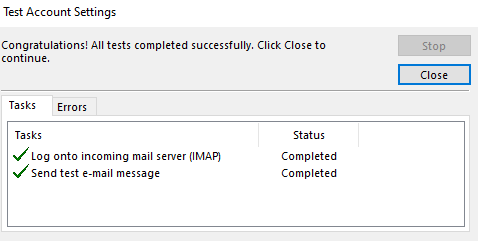
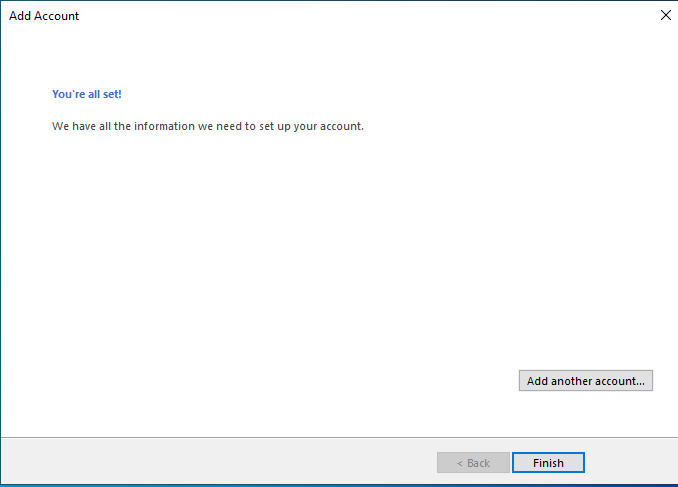
If succesful you will get a congratulations message. Click on Finsh.
The mailbox should now be added to your Outlook.