Outlook 2016 and 2019 mainstream support is due to end 14 October 2025.
We recommend to upgrade or use a different email client before the support period ends.
More info about end of support for Office 2016 and Office 2019 can be found at:
https://support.microsoft.com/en-gb/office/end-of-support-for-office-2016-and-office-2019-818c68bc-d5e5-47e5-b52f-ddf636cf8e16
Open Outlook 2019.
If this is the first time you have opened Outlook you will be directed to the new account wizard.
If not, you can click File, then Add account and continue.
When the Welcome to Outlook 2019 box opens, enter your email address and click Advanced options.
Check the box the box for the option Let me set up my account manually and then click Connect.

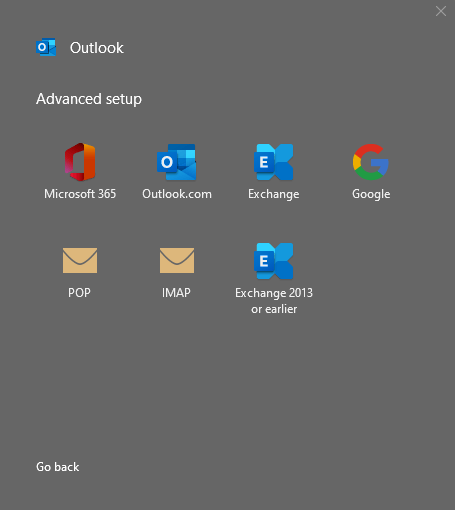
In the Choose account type window, select IMAP.
You might be asked to type in your password at this stage.
Enter your mailbox password, then click Connect.

If “Something went wrong” window pops up. Click Change Account Settings.

You will now need to enter the incoming and outgoing mail server details.
It might of automatically filled out the details for you but please double check that the details match up below before continuing. As it sometimes put in the wrong ports or server address. (For example: mail.example.com when it should be mail.livemail.co.uk)

Incoming Mail
| Server | mail.livemail.co.uk |
| Port | 993 |
| Encryption Method | SSL/TLS |
| Required logon using Secure Password Authentication (SPA) | Unticked |
Outgoing Mail
| Server | stmp.livemail.co.uk |
| Port* | 587 |
| Encryption Method | SSL/TLS |
| Required logon using Secure Password Authentication (SPA) | Unticked |
*if port 587 does not work, try port 465
Once done click Next.
Enter your mailbox password, then click Connect.
The mailbox should now be added to your Outlook.